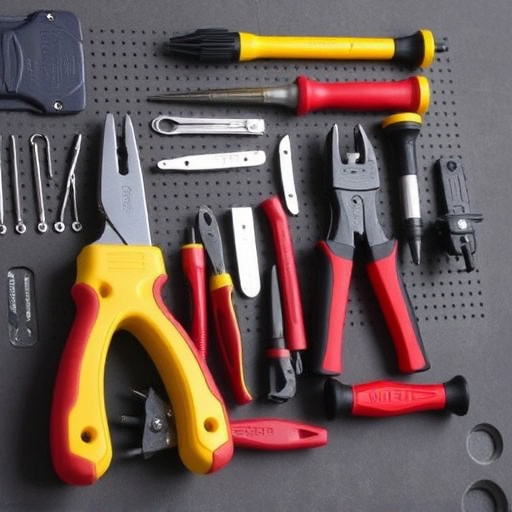
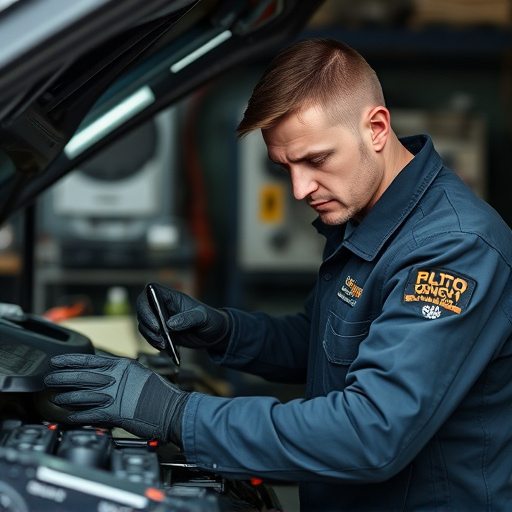

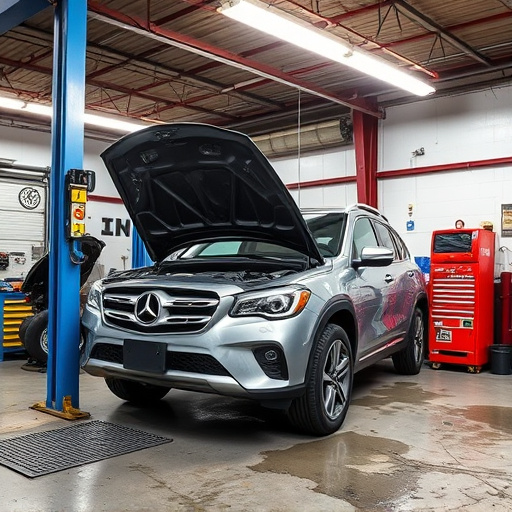
For DIY radiator collision repair, thoroughly inspect visible and hidden damages including dents, cracks, leaks, moisture buildup, rust, and auto glass issues in and around radiators, fenders, grilles, and panels. Assess for structural integrity compromise that could affect cooling efficiency or engine performance to prevent further damage and costly specialized repairs. Ensure you have the right tools and materials for a comprehensive, effective repair that restores your vehicle to peak condition.
Radiator collision repairs can be a complex task, often leading to common mistakes that can compromise your vehicle’s performance and safety. This article guides you through the process, highlighting critical errors to avoid. We’ll show you how to identify damage beyond surface scuffs, navigate potential pitfalls during the repair process, and implement best practices for successful, long-lasting radiator collision repair. Key areas covered include assessment, diagnostic tools, repair techniques, and selection of compatible parts. Master these steps, and you’ll be well on your way to safe, effective radiator collision repair.
- Assessing the Damage: What to Look For
- – Identifying common signs of radiator collision damage
- – Non-obvious issues that require close inspection
Assessing the Damage: What to Look For
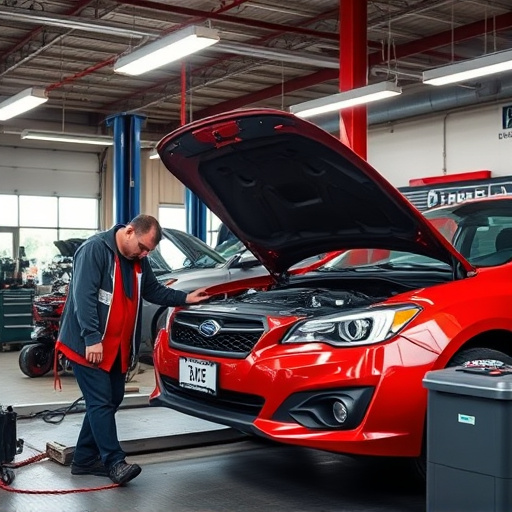
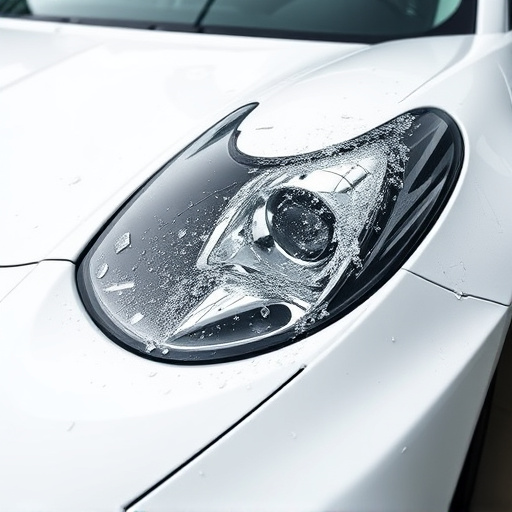
When assessing damage from a radiator collision repair, it’s crucial to inspect several key areas. Start by looking for visible dents or bends in the radiator itself—these can often be spotted immediately upon inspection and may indicate more serious structural issues beneath the surface. Also, check for any cracks or leaks in the radiator’s hoses, as these could signal compromised integrity.
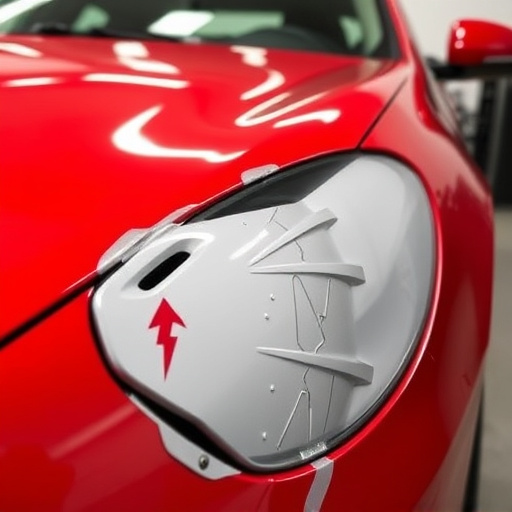
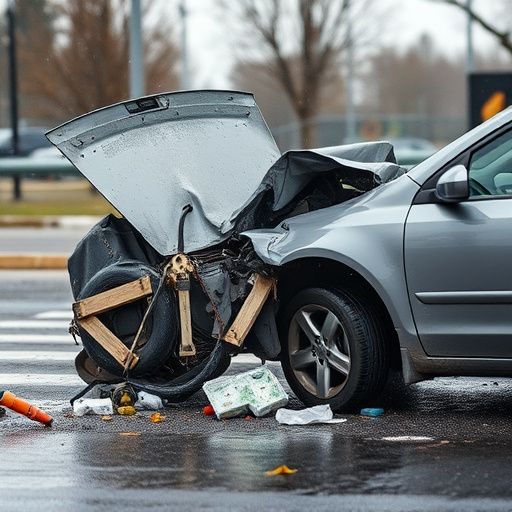
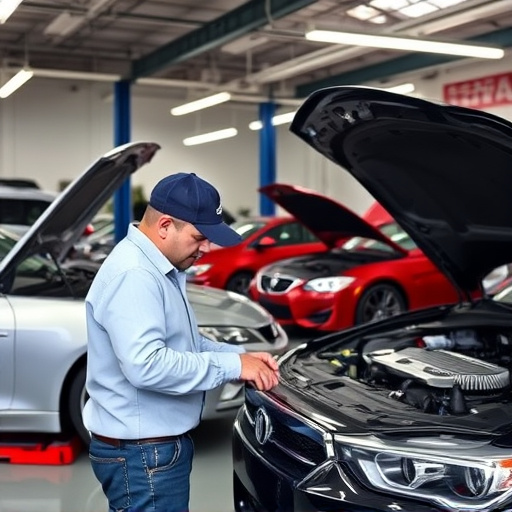
Beyond the radiator, examine the surrounding components. A vehicle body shop professional will pay close attention to fenders, grilles, and other adjacent panels for signs of impact. Even subtle shifts or misalignments might point to more extensive damage that requires careful auto maintenance. Remember, thorough assessment is key; ignoring even the smallest car dent repair could lead to bigger problems down the road.
– Identifying common signs of radiator collision damage
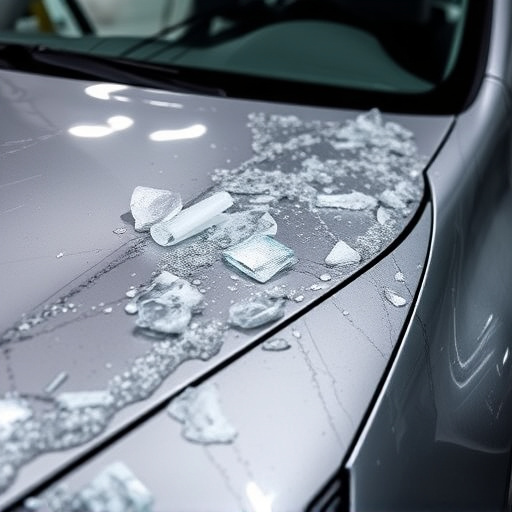
The first step in DIY radiator collision repair is to identify common signs of damage. Dents, cracks, or bulges in the radiator are clear indicators that a collision has occurred. Additionally, look for leaks or unusual moisture buildup around the radiator, as these can point to internal damage caused by the impact. Other visual cues include misaligned components, rust spots, and paint discrepancies, which may suggest prior repair attempts or hidden damage.
Understanding these signs is crucial for effective DIY radiator collision repair. Ignoring them could lead to further complications, such as fluid leaks, reduced cooling efficiency, and even engine damage. Once identified, the next step involves gathering the necessary tools and materials for safe and efficient vehicle body repair, ensuring your car or truck returns to peak condition after a collision.
– Non-obvious issues that require close inspection
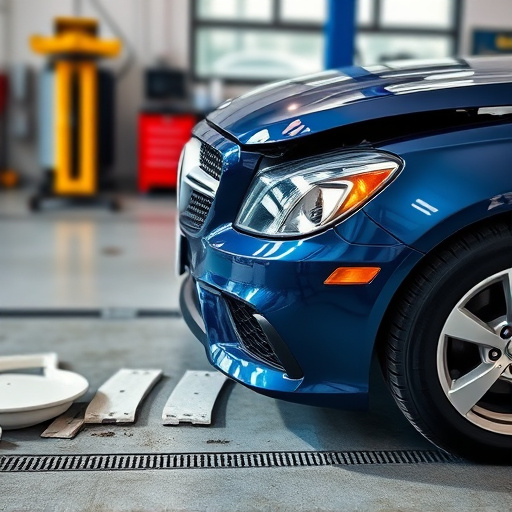
When it comes to DIY radiator collision repair, many enthusiasts make the mistake of focusing solely on the visible damages. However, a comprehensive inspection is crucial to identify potential issues that might have been exacerbated by the collision. Pay close attention to areas often overlooked; for instance, check for any signs of rust or corrosion behind the grille and along the fender lines. These hidden spots can indicate deeper problems, such as water leaks or structural weaknesses, which could compromise the efficiency and safety of your vehicle’s cooling system.
Remember that a thorough assessment is key to preventing further damage. While many turn to auto repair near me for specialized services, taking some time to scrutinize these details yourself can save you from costly repairs later on. Additionally, consider the state of your car’s auto glass repair and fender repair; even seemingly minor cracks or chips could impact air flow and stability during driving, warranting attention before proceeding with the radiator collision repair process.
When tackling DIY radiator collision repair, it’s crucial to remain vigilant and thorough. While some damage may be immediately apparent, many issues lie beneath the surface. By understanding common mistakes and adhering to a meticulous assessment process, you can avoid potential pitfalls. Remember, proper inspection is key to ensuring a safe and effective radiator collision repair job, saving you time, money, and potentially preventing further damage down the road.